

Submission Note
Live Automation using Brevo
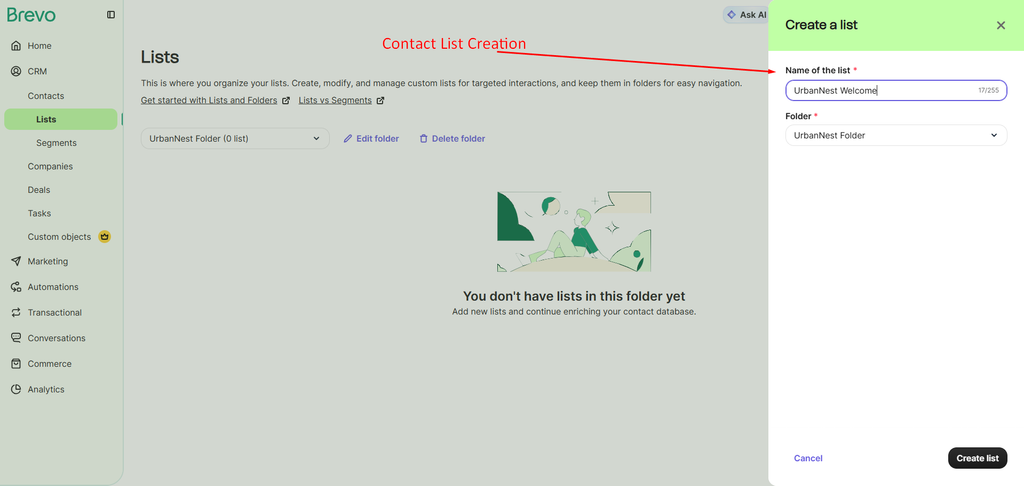
Audience Creation:

Contact/Audience List Creation
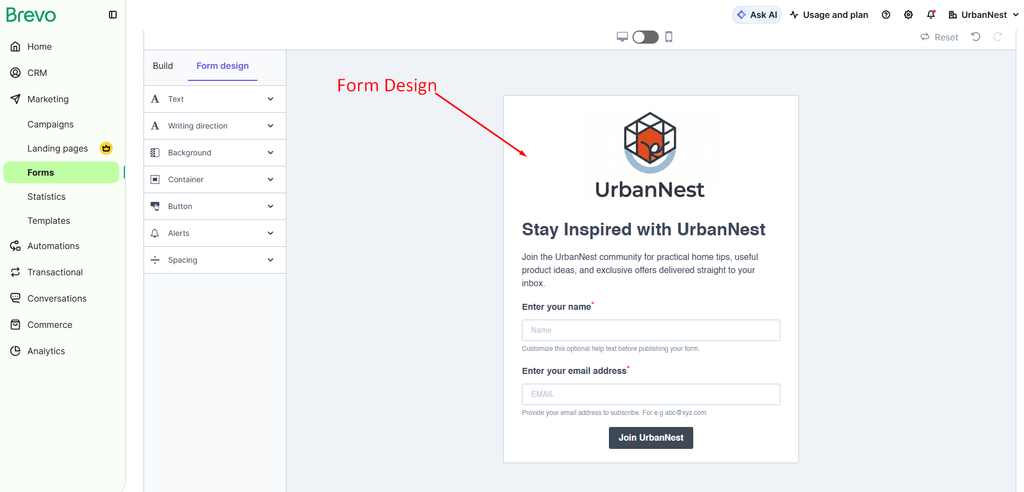
Form Creation:


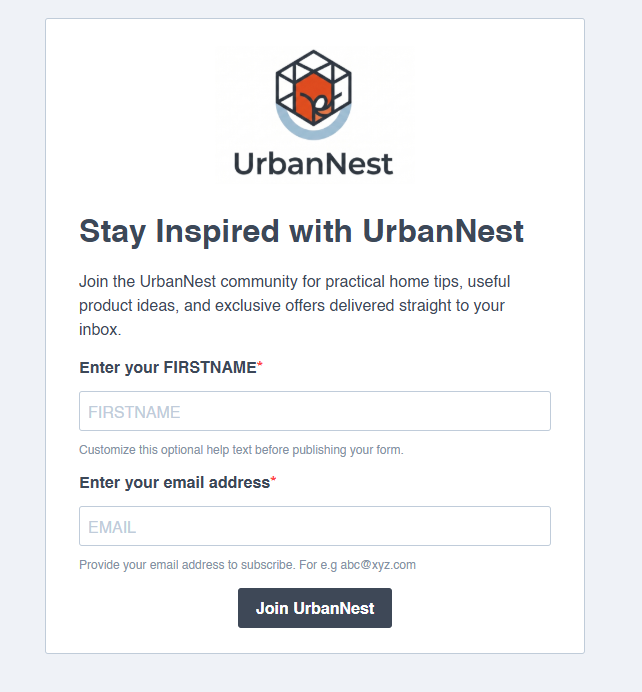
Final Signup Form Preview
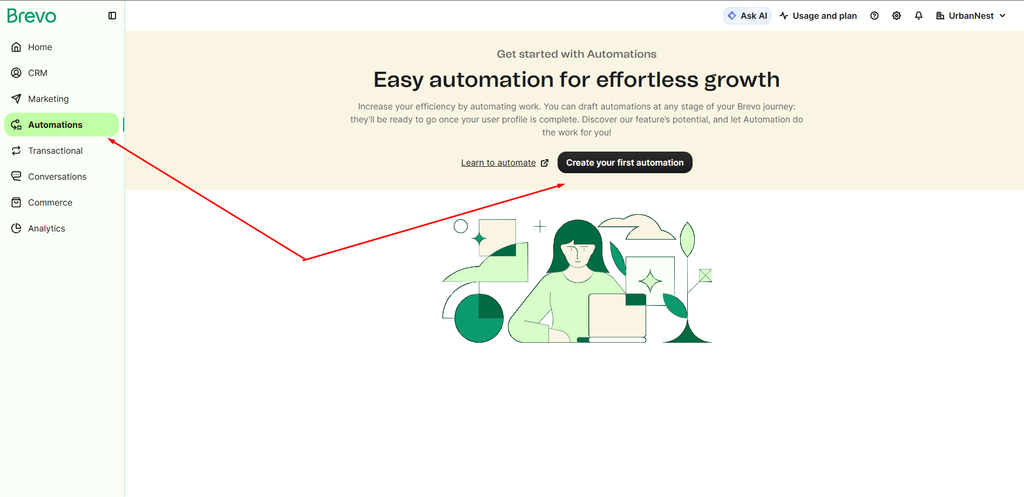
Automation Activation
Sequence Structure Map
Contact signs up → Email 1 → 1-day delay → Email 2 → 1-day delay → Email 3 → Exit

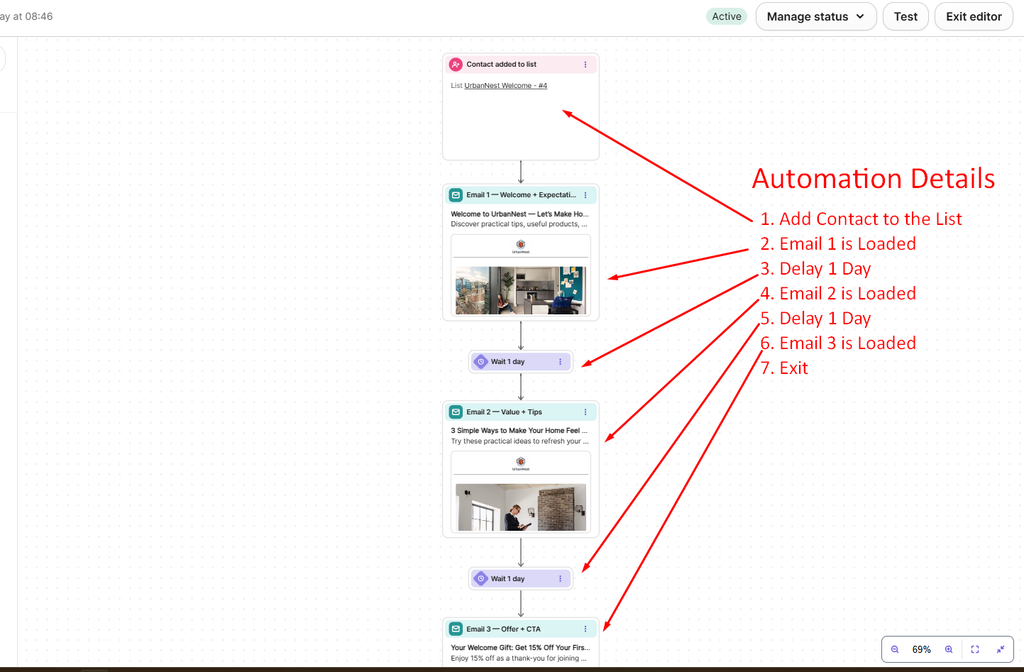
Load 3 Emails with Delay Automation
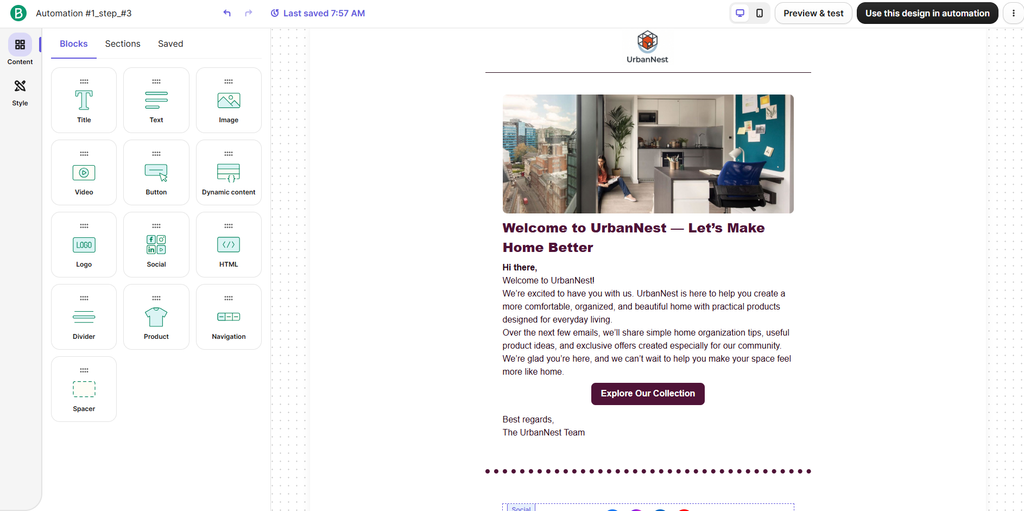
Email 1 is Loaded after Contact added to UrbanNest Welcome

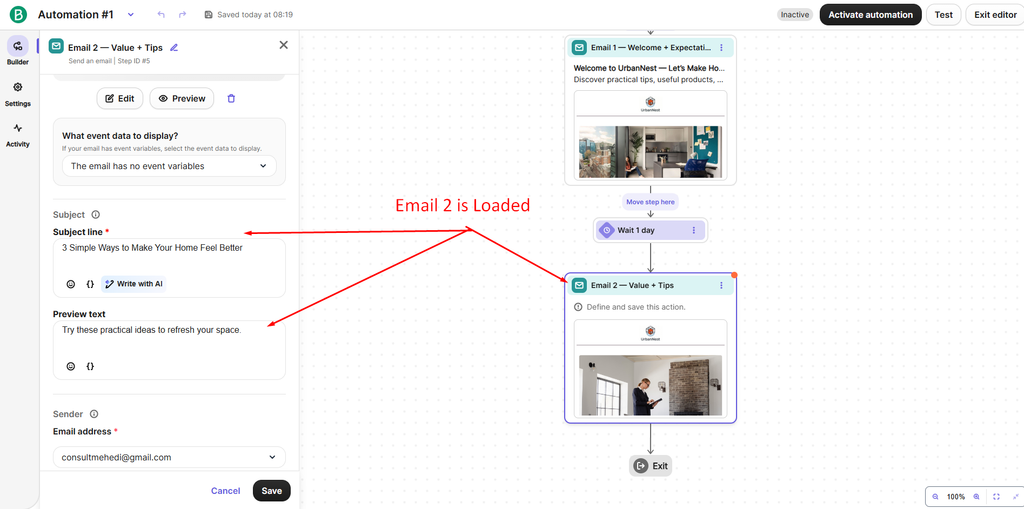
Email 2 is Loaded after 1 Day Delay

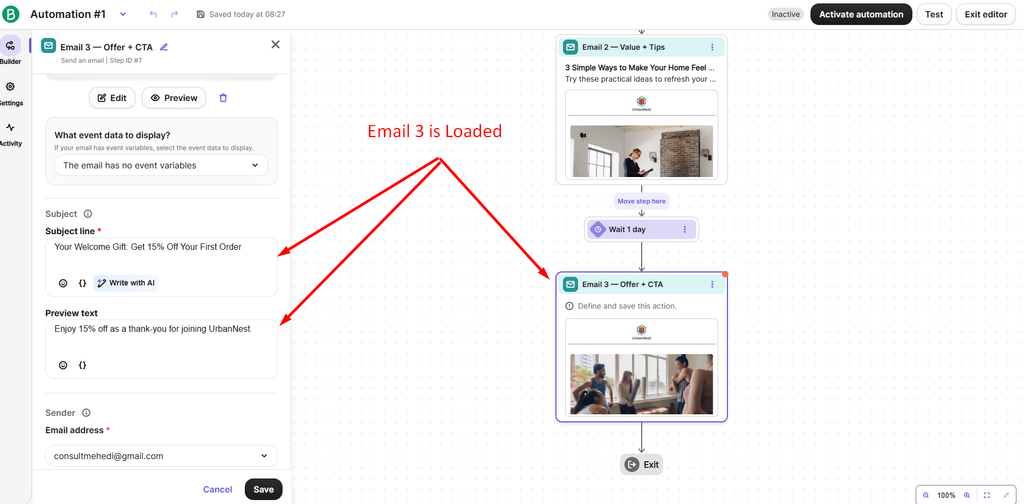
Email 3 is Loaded after 1 Day Delay

Proof of the Test

Final Test Result
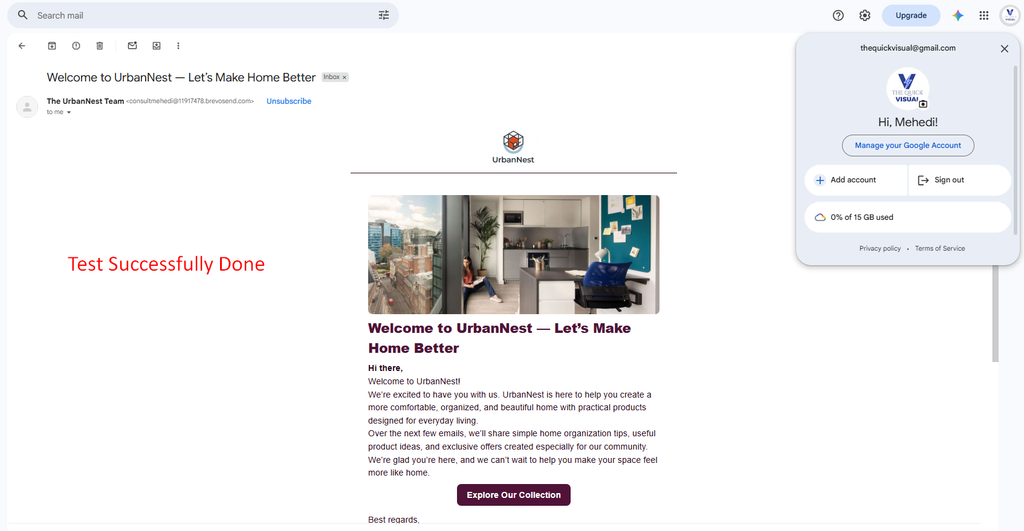
Final Activation and Test Signup:
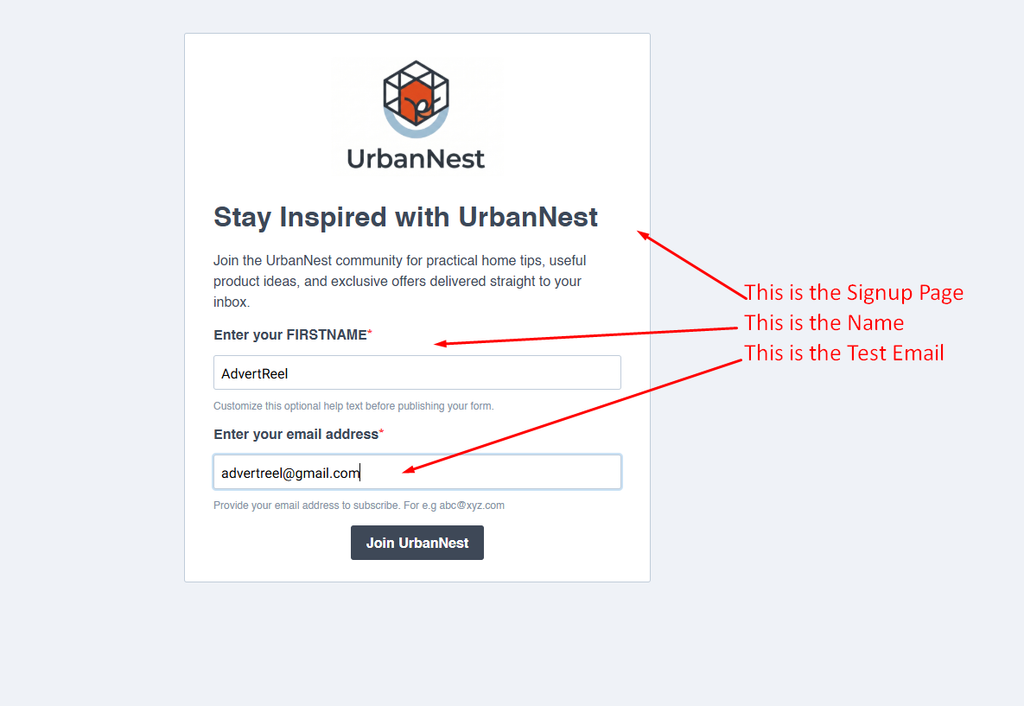
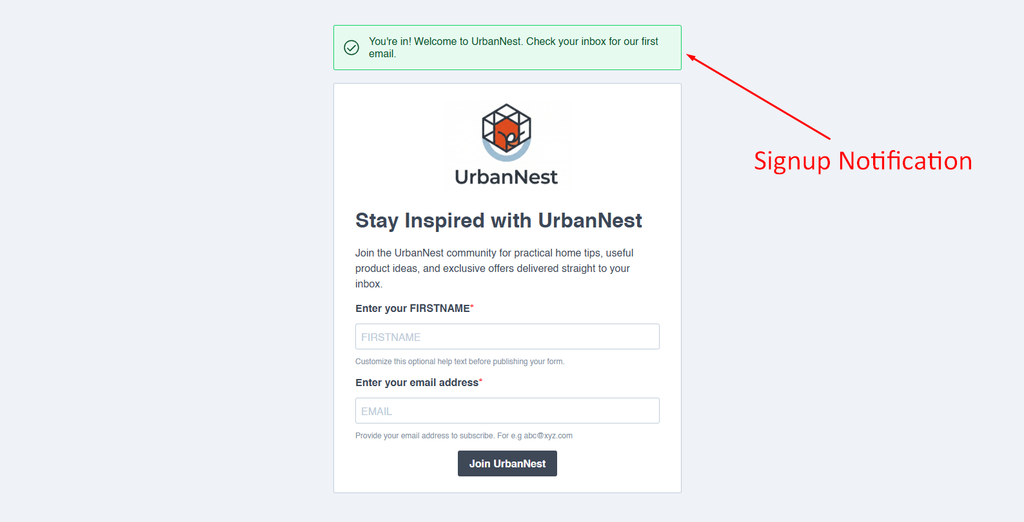
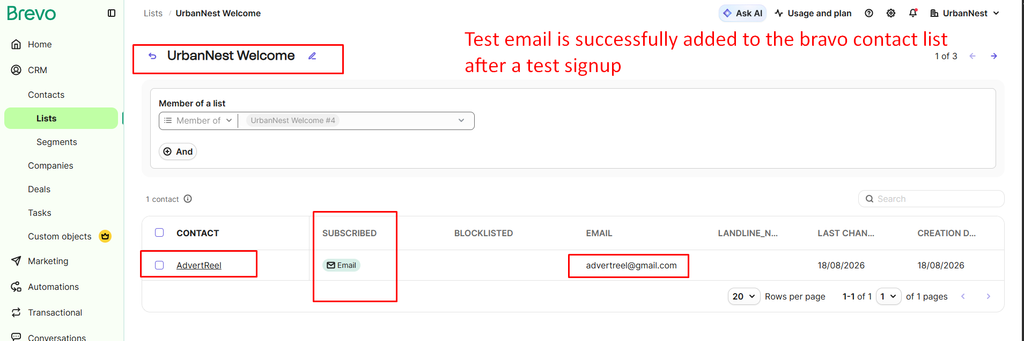
Advanced Challenge : Tag/Segment
Creating a Segment and Sending an Email to Its Contacts in Brevo


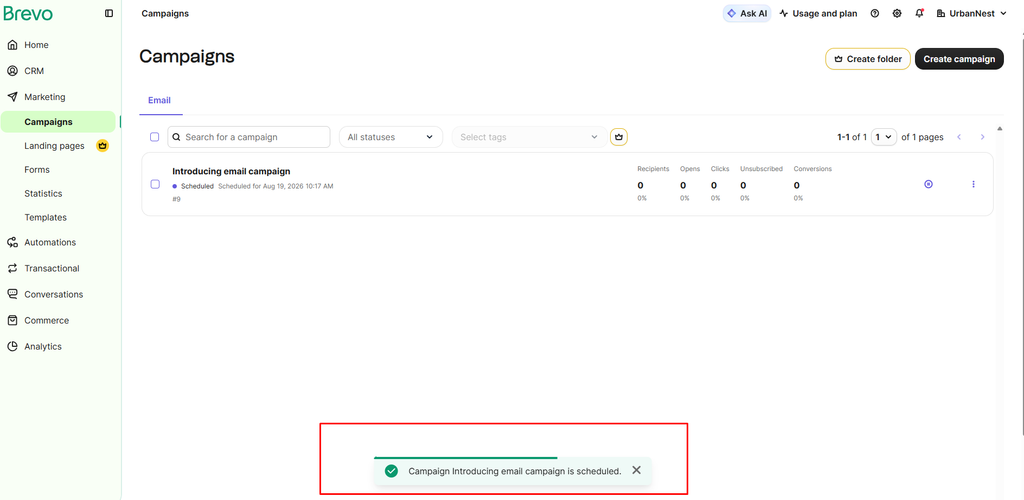
Sending Email to the all contact in a particular segment list




Step by Step Process:
Objective
I explored Brevo’s segmentation feature as an alternative to Mailchimp’s Tag/Segment functionality. I created a segment and set it up so that an email could be targeted specifically to the contacts within that segment.
Step-by-Step Process
Step 1 — Open Contacts
I logged in to my Brevo account and went to CRM → Contacts.
Step 2 — Open Segments
From the Contacts section, I selected Segments and clicked Create a segment.
Step 3 — Create a Segment from Scratch
I selected Create segment from scratch to create a customized subscriber segment.
Step 4 — Select the Filter Condition
Under the filter options, I selected Membership → Member of a list.
Step 5 — Select the Subscriber List
I selected my UrbanNest subscriber list:
UrbanNest Welcome
This allowed me to target only the contacts belonging to this specific subscriber group.
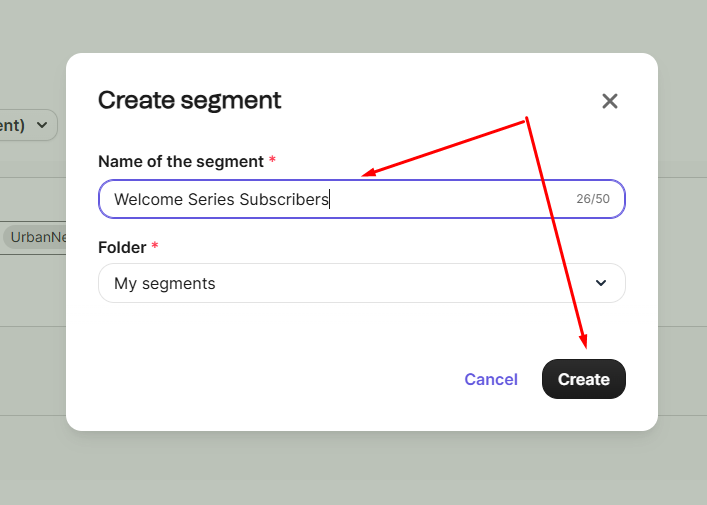
Step 6 — Name the Segment
I named the segment:
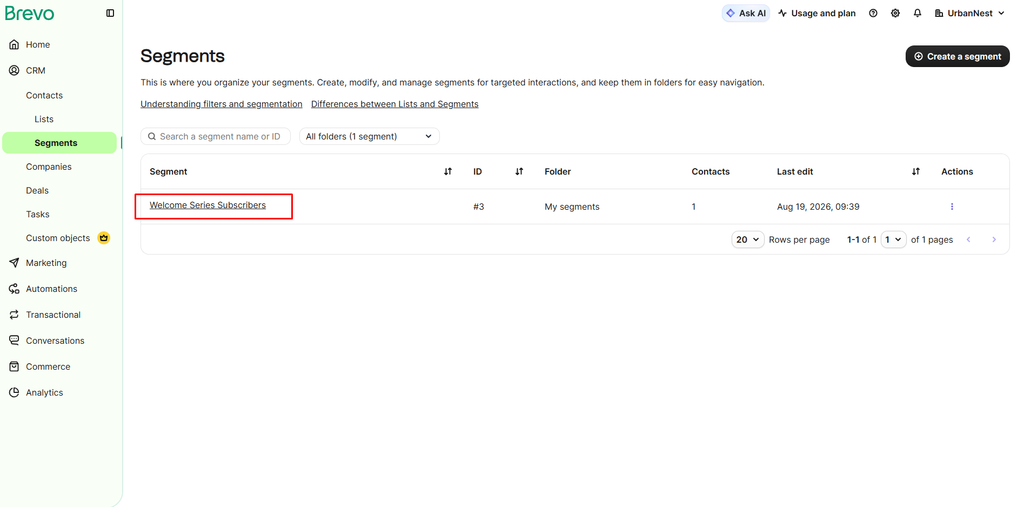
UrbanNest Welcome Subscribers
The segment showed the contacts matching the selected condition.
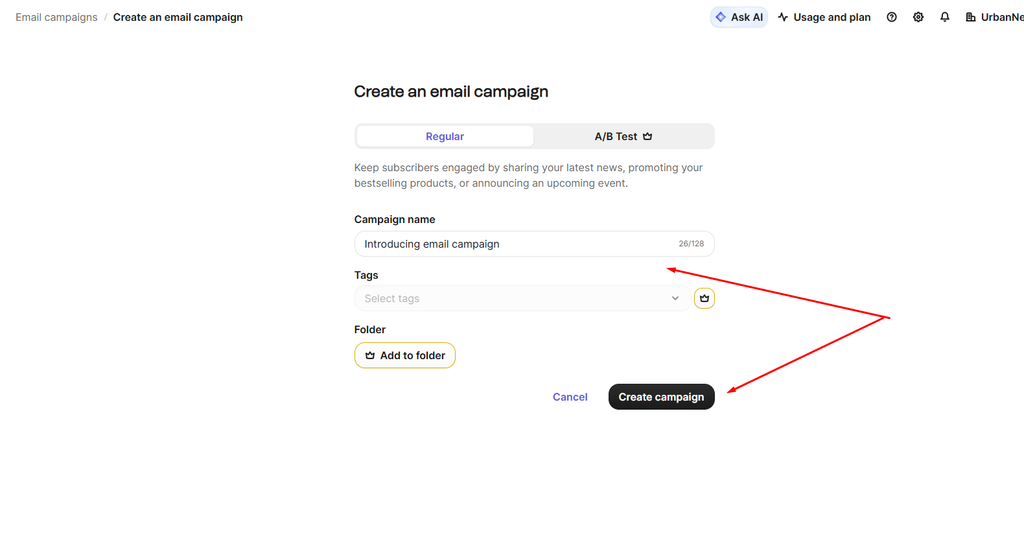
Step 7 — Create the Email Campaign
I went to Marketing → Campaigns and started creating an email campaign.
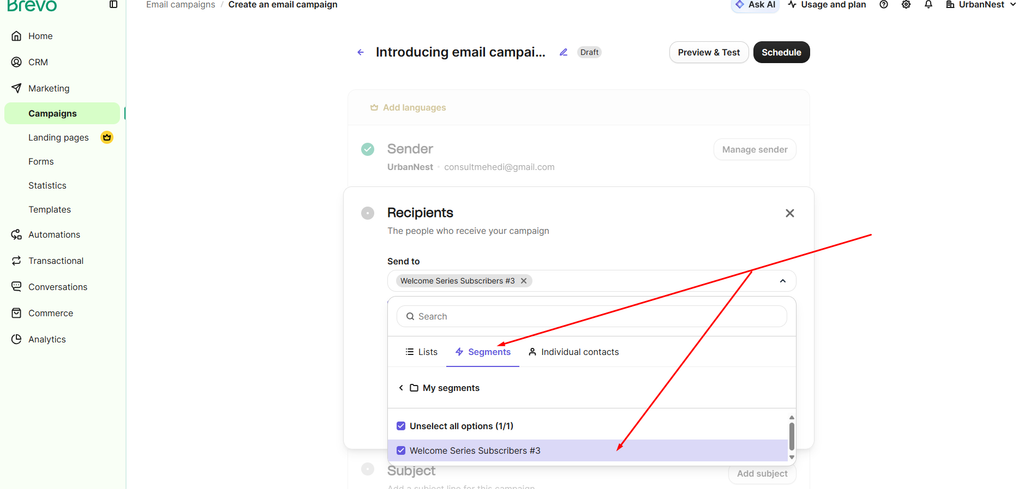
Step 8 — Select the Target Audience
In the recipient section, I selected the relevant segment:
UrbanNest Welcome Subscribers
This demonstrates how an email can be targeted specifically to contacts within a selected segment instead of sending it to the entire contact database.
Step 9 — Create the Email
I added the email subject, preview text, body content, and CTA according to the UrbanNest welcome campaign.
Step 10 — Review the Targeting
Before sending, I reviewed the recipient settings to ensure that the selected segment was the intended audience.
Result
The segmentation setup demonstrated how a specific group of subscribers can be separated from the overall audience and targeted with a relevant email campaign.
Note: Since the Brevo Free plan required an upgrade to send the campaign to the segment, I documented the complete setup process and captured screenshots of the segment creation and targeting steps.
Conclusion: This exercise helped me understand how audience segmentation can be used to send more relevant and targeted emails to specific groups of subscribers.